Getting Started as a User admin for Rezolve.ai

User Management is where users who can access the admin console are added/edited and assign appropriate roles.
User Admin
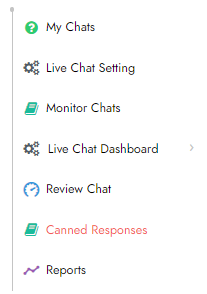
What you are able to see in the navigation pane depends on what roles you have been given in the Admin Portal.

NOTE: Users are advised to log out and re-login to the system for new roles to take effect.
*Creating a User Account -
*
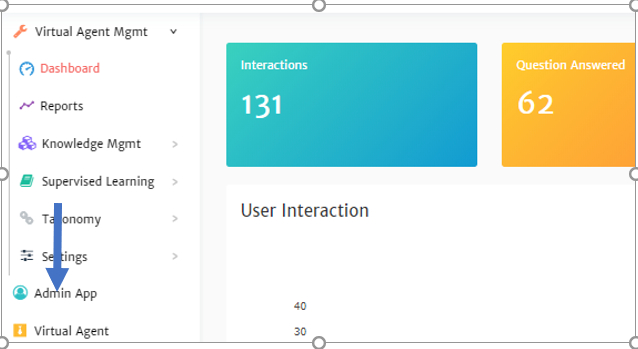
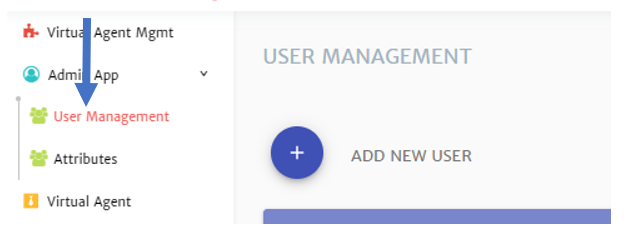
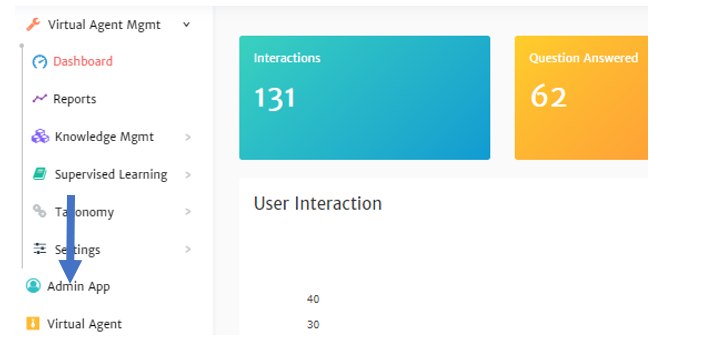
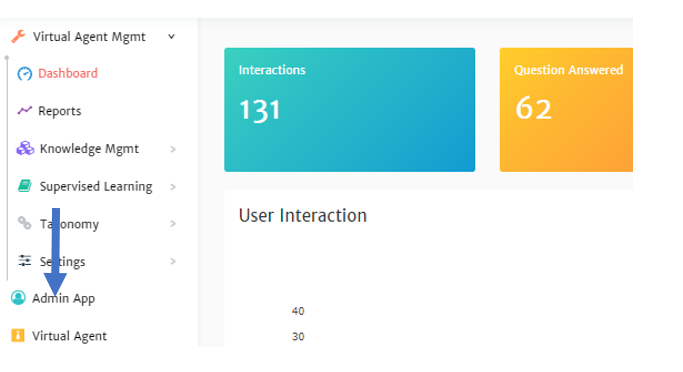
1. Click on Admin App in the navigation pane on the left of your console
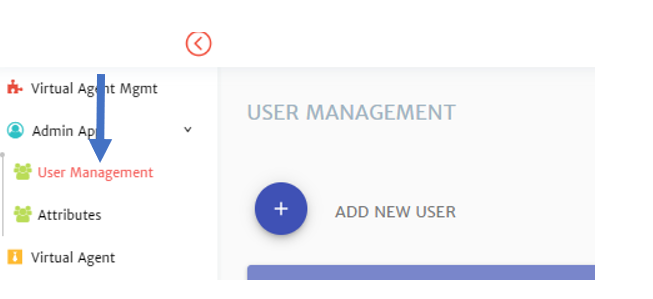
2. Click on User Management in the navigation pane on the left of your console

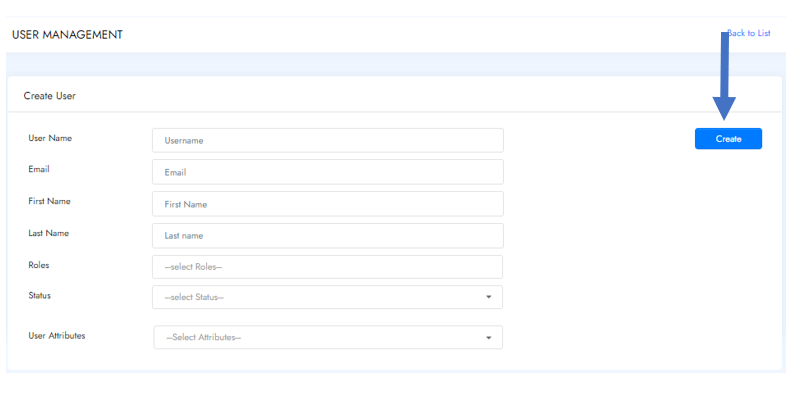
3. Click on the + next to ADD NEW USER

4. On the new screen that appears, enter the user's info
A. Email Address
B. First Name
C. Last Name

5. Click on the Select Roles box
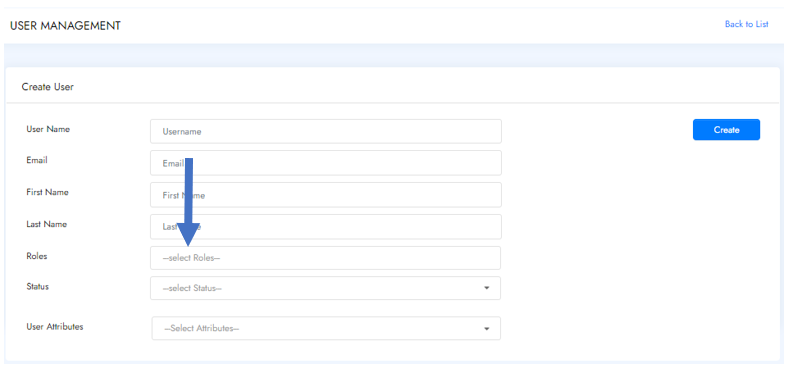
6. Select the relevant role for this user (Click outside the Role menu option box to close it)
NOTES: If you click twice, it will remove the role.
7. Set relevant attributes
8. Click the + for it to be added
9. Click on Create
*Edit a User Account
*
1. Click on Admin App in the navigation pane on the left of your console

2. Click on User Management in the navigation pane on the left of your console
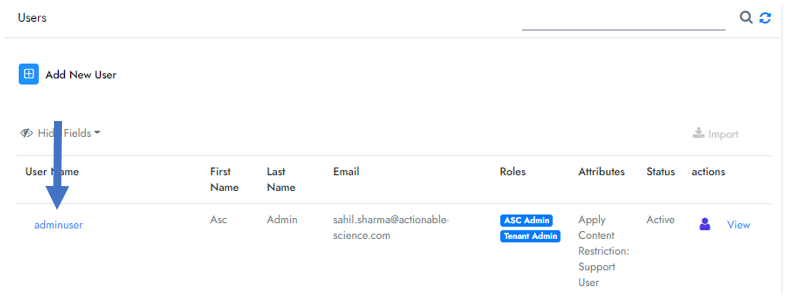
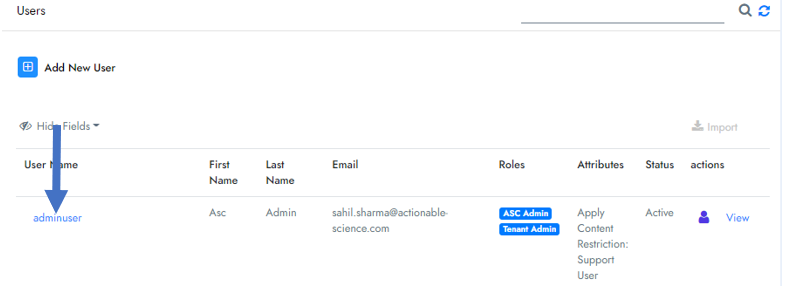
3. Click on the username on the same line as the user you would like to edit
4. A new page will open and you can edit
· First Name
· Last Name
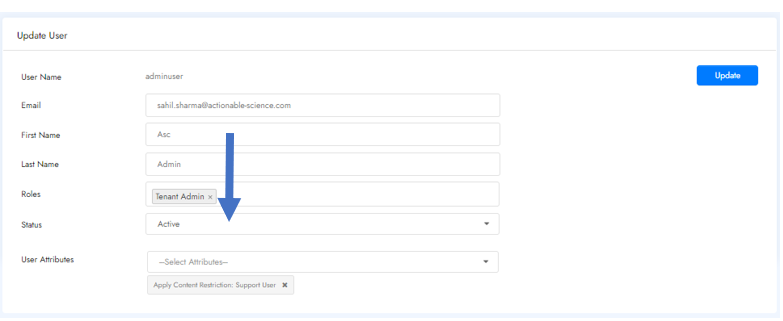
· Roles
· Attributes
Important Note: Please only change Roles and Attributes if you have enabled Active Directory. All other information is provided by the account info associated with your AD.
NOTE: When adding and removing a Role, click outside of the Roles box for it to minimize.
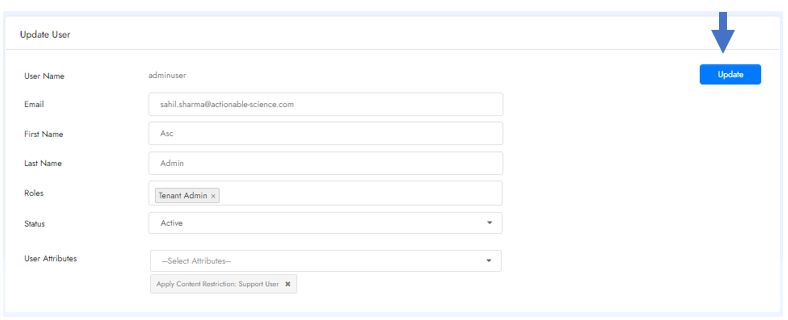
5. When changes are complete, click Update to Save

*Activate and Deactivate an Account
*
Accounts can be deactivated and re-activated with a simple click.
1. Click on Admin App in the navigation pane on the left of your console
2. Click on User Management in the navigation pane on the left of your console
3. Click on the username on the same line as the user you would like to edit
4. Go to the Status field
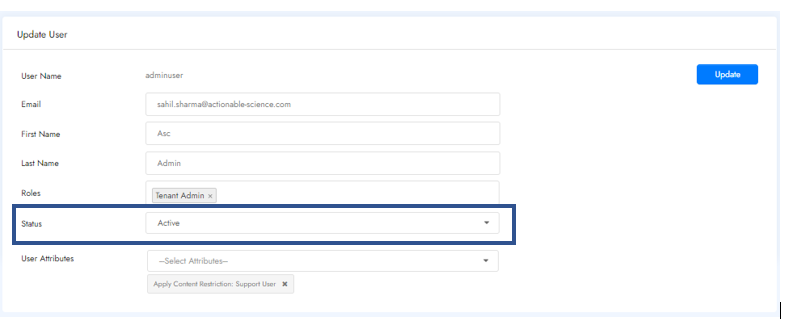
5. Click on the current Status selection box
6. Choose the status you would like it to be
7. Click Updateto save your changes
*Resetting a Password
*
1. Click on Admin App in the navigation pane on the left of your console
2. Click on User Management in the navigation pane on the left of your console

3. Find the line of the account that requires a password reset
4. Click on the icon that looks like a person

The system will send the email on file for that person, a temporary password. They will be prompted to set a new password when they log in with it.
Why wait? See Rezolve.ai in action Today.
.png)
Rezolve.ai is a Generative AI-powered modern Employee Service Desk that brings instant employee support within Microsoft Teams, reducing enterprise friction and enhancing the employee experience.


